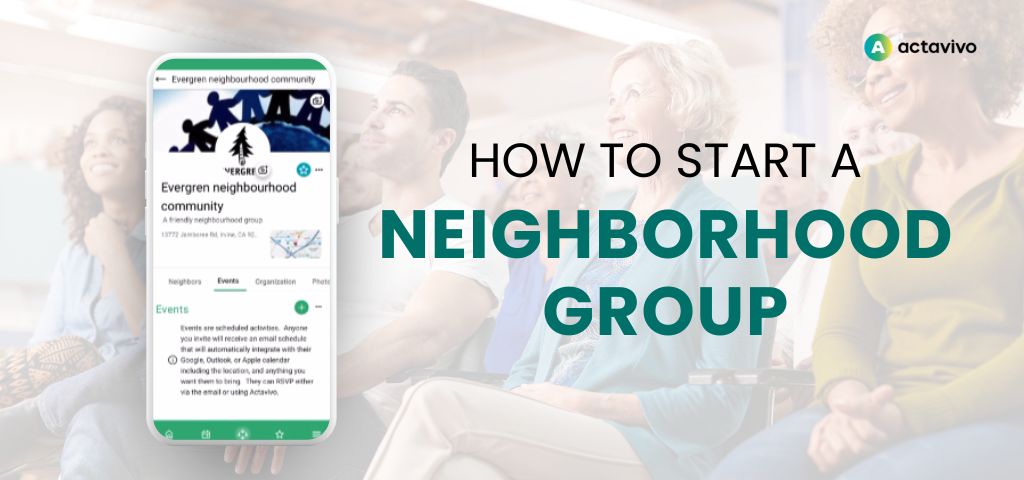
How to start a neighborhood group?

If you’re someone looking to create a new group in your neighborhood, this short piece of article is for you! Learn the various steps to starting a neighborhood group with the help of the free and best group communication app —Actavivo.
Before that, let’s dive a little into the essentials of neighboring groups. In general, neighbors are a set of people who reside in the same area or locality as you. Starting a neighborhood group enables everyone to stay well connected with people around, lets you participate in various localized events and parties, and most importantly, helps in the case of emergencies or unprecedented incidents. Being a part of these local groups feels like another family to many people.
How do I create a group in my neighborhood?
Creating a neighborhood online group is as easy as signing up to a new social media platform. Yes, here is the simple five-step approach.
Step 1
Firstly, as soon as you get an idea of creating a group among your neighbors, share it with your neighbors. And when the majority of your neighbors are aligned, you can get their common consent and plan to become the group manager or the administrator. Accordingly, you can collect the basic demographic and communication details from those who are interested in joining the group.
Step 2
Post-planning, you can install the free team communication app from the Google Play Store or Apple App Store. After installation, click “Neighborhood” under the “Create new” list on the home page. Add the right name, description, and location of your new neighbor’s group. Along with this, add the logo (if any), profile picture, or group banner image as suggested by the members of your group. Completing these steps ensures you’ve successfully created your neighborhood group.
Step 3
Now, add a few people who have shown interest in the roles of staff, coordinator, or neighborhood organizer. Adding them under the “administration tab” completes creating the management or the administration team for the newly formed group. Together, these administration team members or staff initiate group activities and are responsible for planning events, meetings, parties, celebrations, etc. Also, depending upon decisions from further conferences or gatherings, even the administration team and group owner can be changed on the neighborhood dashboard.
Step 4
The next step is to add all the neighbors to the group. The chosen online group head or staff can add all possible contacts among the neighbors with their name, email ID, and phone number. However, obtaining each of their consent is important before adding them to the group. As mentioned earlier, this is done as a part of step 1—consent and data collection.
Step 5
As per the choices and willingness of the group members, the administration team can start scheduling events and meetings on the calendar. These notifications reach every group member as an invite for the upcoming event, to which they can respond or RSVP right away. Also, there is a chance to add photos, videos, or documents on the group communication app, which the group members can use whenever required. In fact, organizations can be formed in this neighborhood group.
Click Here to watch the video on how to create a neighborhood group.
What next?
Follow these simple steps and start your new neighborhood group, feel stronger, create a vision, plan for events, and create a neighborhood identity for yourselves. Ultimately, this improves the overall well-being of the people in this location and, at the same time, effortlessly bridges the city government for further needs and wants of the society.
Starting a neighborhood group is just the first step — but what comes next? Forming a group is only the beginning, its true value lies in how connected, vibrant, and effective it becomes. Check out our blog How to Make Your Neighborhood Better and learn how to turn your neighborhood group into a true force for local change.
Conclusion
People like you will no longer have the question of where to start or how to start a neighborhood association. As you’ve seen now, it is just a matter of minutes with the power of communication apps and platforms.
